Deploying Mikrotik CHR in Azure

Recently, I needed to deploy a Mikrotik VM in Azure. Unfortunately, there's no company-supported image of Mikrotik CHR on Azure Marketplace, so I had to find a way to deploy it.
I started my journey googling about the topic and found this article - https://forum.mikrotik.com/t/chr-on-azure/134451. It shares a great, and that's more important, working guide on how to make it work. It's based on Azure Image creation, from which you will then create a VM.
The thing is, the guide didn't work out for me. Problems started right from the beginning. So let me guide you step-by-step to achieve that goal.
Downloading image
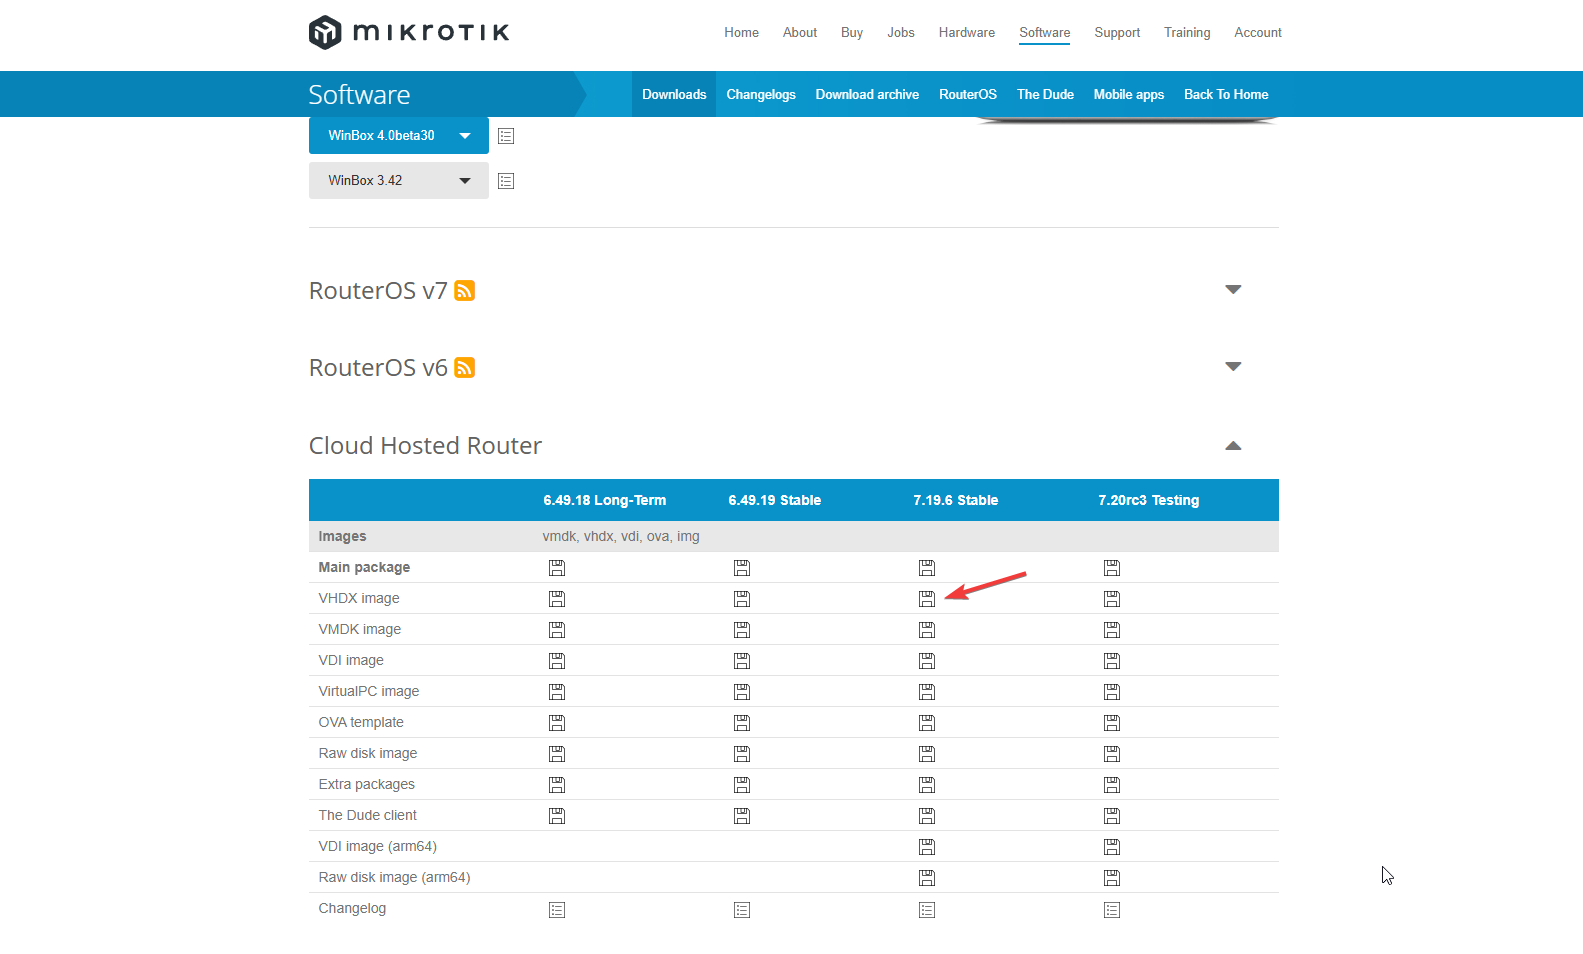
First, you need to download an image. Go to https://mikrotik.com/download, scroll a little bit down, and expand the Cloud Host Router section. Click on the diskette icon against the VHDX image. In my case, I'm downloading the stable 7.19.6 version.
After downloading, unzip it into some working directory.
Image conversion
We need to convert that .vhdx to .vhd which is supported by Azure. The original article recommends the PowerShell command Convert-VHD , which didn't work for me. First of all, it's not enough to just install a PowerShell module for Hyper-V management; you also need Hyper-V itself installed along with the module. And not everyone can install it (it's only supported in Windows Pro and Enterprise versions).
If you've got the right Windows edition and Hyper-V is installed, you can convert the image with the next command (assuming you're in the working directory where the unpacked image is located):
Convert-VHD -path chr-7.19.6.vhdx -destinationpath chr-7.19.6.vhd -vhdtype fixed If you're not so lucky, like me, I would recommend finding a Linux machine (or VM). On Linux, you can install QEMU and use a similar tool qemu-img to convert the image.
You can find instructions on how to download/install QEMU here - https://www.qemu.org/download/.
To convert the image, run:
qemu-img convert -f vhdx -O vpc -o subformat=fixed,force_size=on chr-7.19.6.vhdx chr-7.19.6.vhd.vhd image! If it's more than 134218240 bytes - you will have issues later on the image creation stage.If your .vhd image size is not far from 134218240 bytes, you can continue with the next topic. If it's not...
Making things smaller
In my case, I had an issue with the image size. The Azure Image creation procedure halted with an error about the image size not being a whole number. In the blob storage it appeared as 128.03 MB which is tremendously wrong in terms of Azure 😏
You can fix that with a few additional steps on the image conversion:
- Create an empty image of a proper format and size
qemu-img create -f vpc -o subformat=fixed,force_size=on blank.vhd 128M - Convert the original VHDX to the raw-formatted image
qemu-img convert -f vhdx -O raw chr-7.19.6.vhdx tmp.raw - Make a byte copy of the raw image into the VHD image
dd if=tmp.raw of=blank.vhd bs=1M conv=notrunc - Change the name of the blank image to the desired one
mv blank.vhd chr-7.19.6.fixed.vhd
Storage account and image upload
Create an Azure Storage Account (blob). After the storage account is created, create a container inside it. You can name it whatever, for example images.
Upload a blob (image) to the storage account:
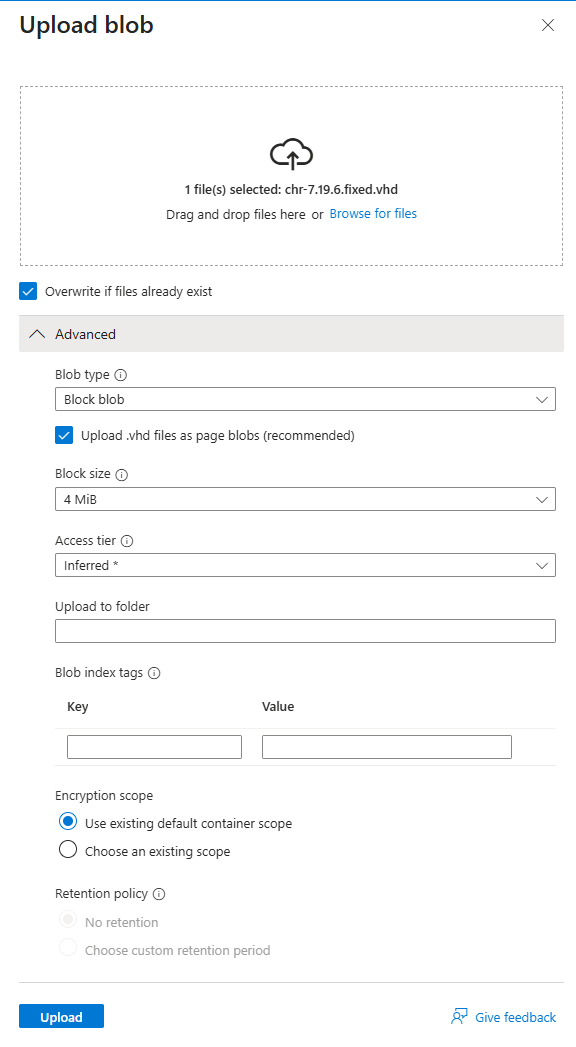
Make sure you have Blob type set to Block blob and the checkbox Upload .vhd files as page blobs is set.
Please check the size of an image in a container. If it's not a whole number - scroll back to the Making things smaller section and shrink the image. Otherwise the Azure Image creation will fail.
Creating an Azure Image
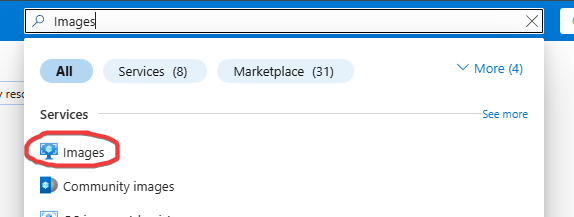
In the Azure search bar type Images and proceed to the Azure Image service.
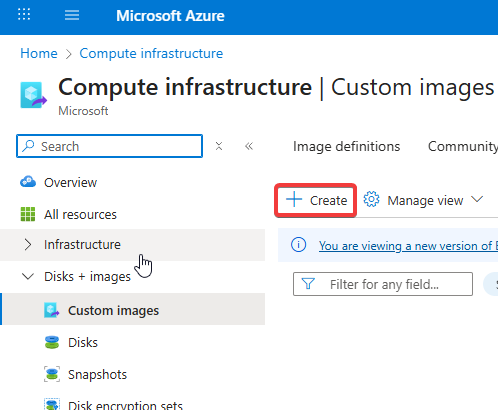
Then click on the "Create" button:
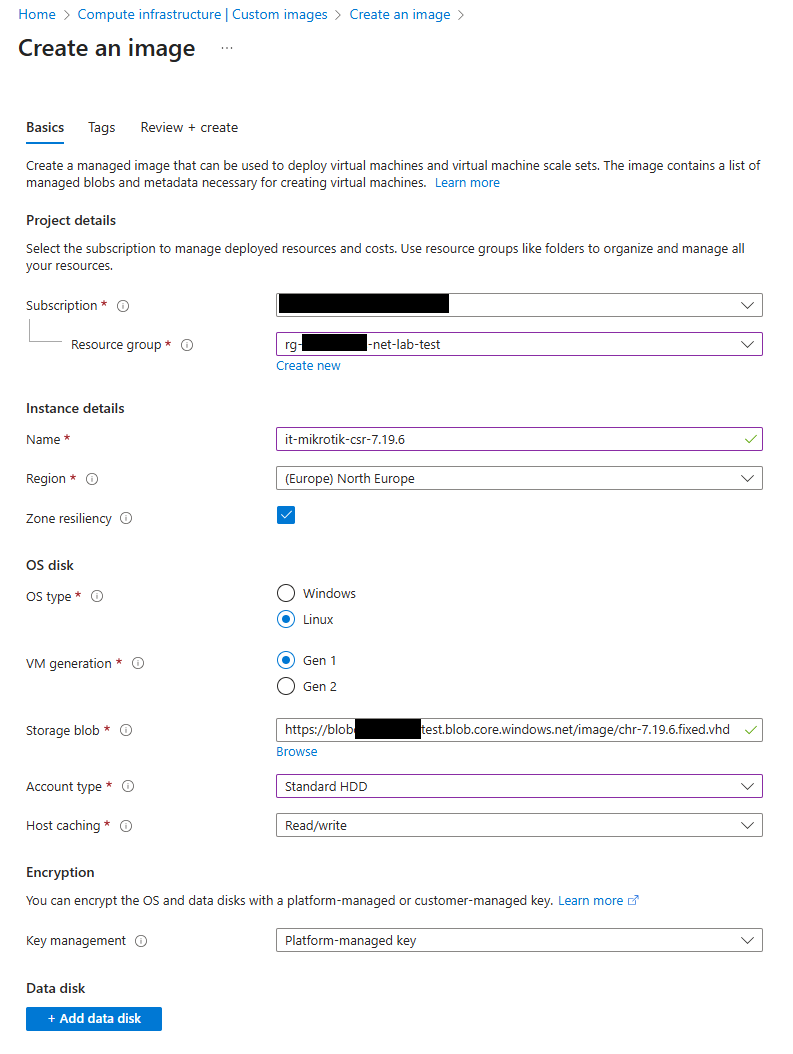
- Select the Azure Subscription and Resource Group where the image will be placed
- Choose the image name (I know that I've messed up with that "csr" 💀)
- OS type must be set to "Linux"
- Click on the "Browse" link under the "Storage blob" field and select the Storage Account and the image from the respective blob container
- I chose the "Standard HDD" for the Account Type, as Mikrotik is not that disk-heavy
After some time the image will be created:
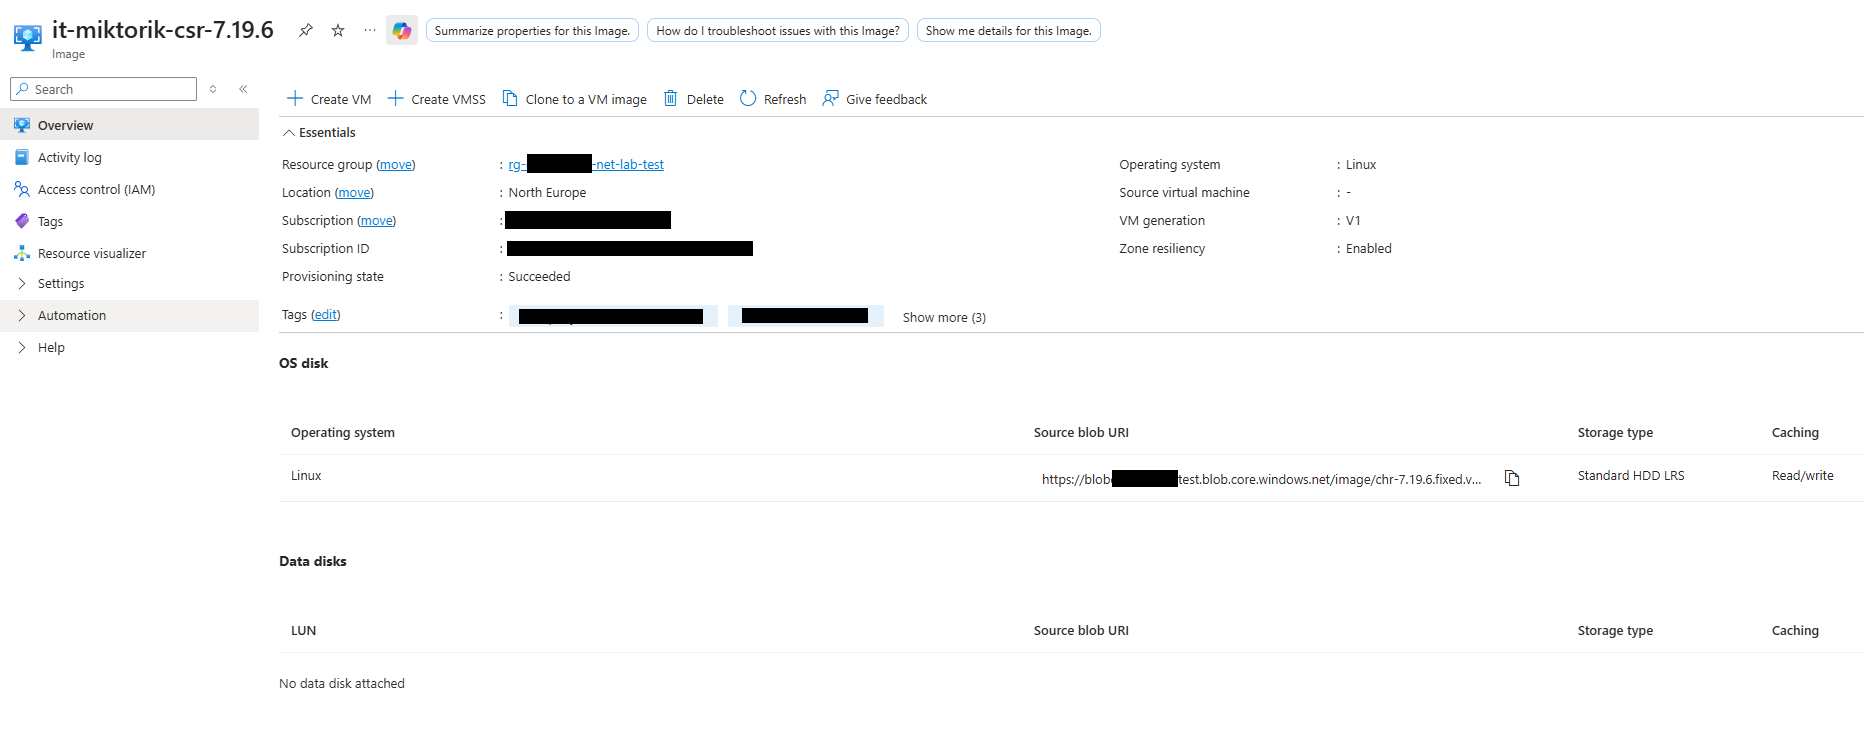
And, yeah, now it's called "miktorik" 😅
Creating a VM
Click on the "Create VM" button and fill in the fields in the next dialog
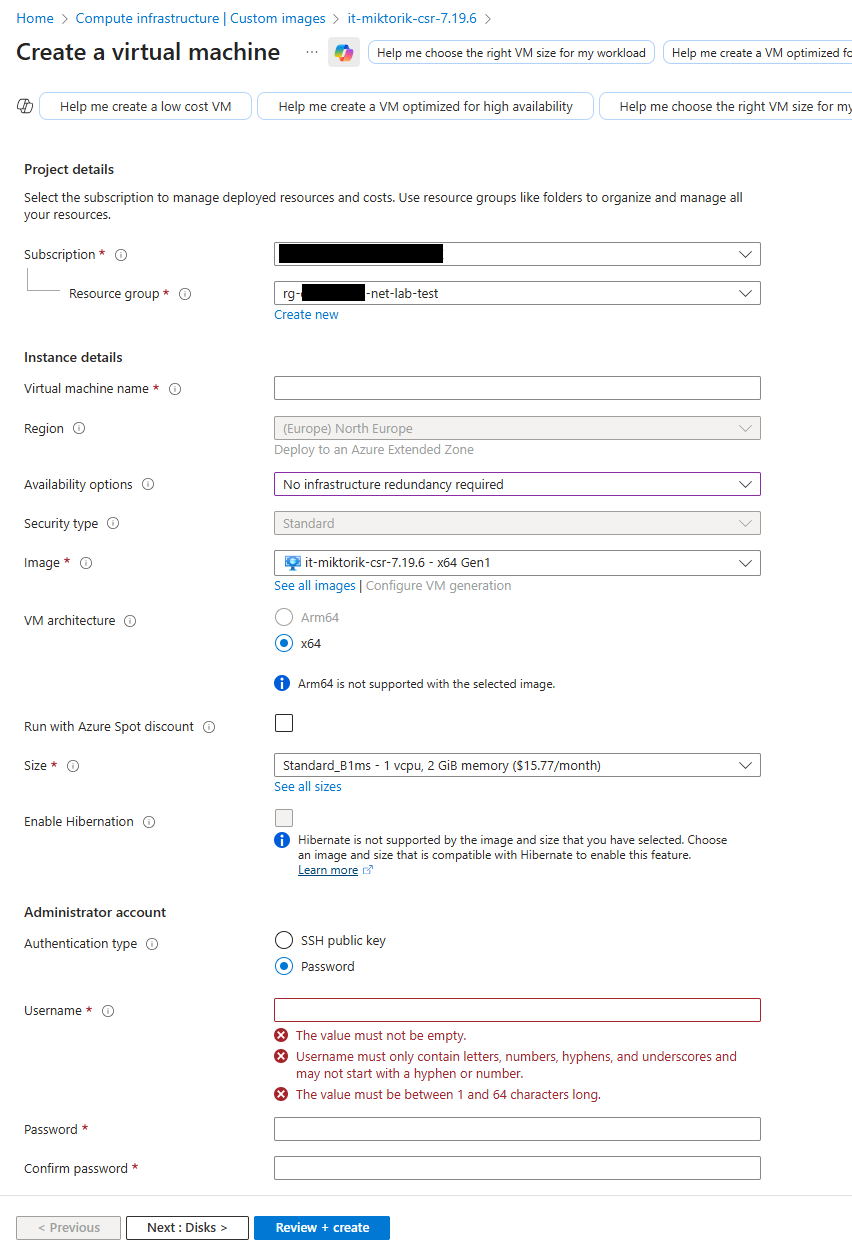
- Azure Subscription and Resource group where VM will be placed
- Name of a VM
- Image will be selected automatically
- Select the VM size. For the tests
B1mswill be enough. - As for the "Authentication type" - it doesn't matter what you choose; CHR will request the password anyway, so it's easier to select "Password" and type something in the fields to pass the complexity checks.
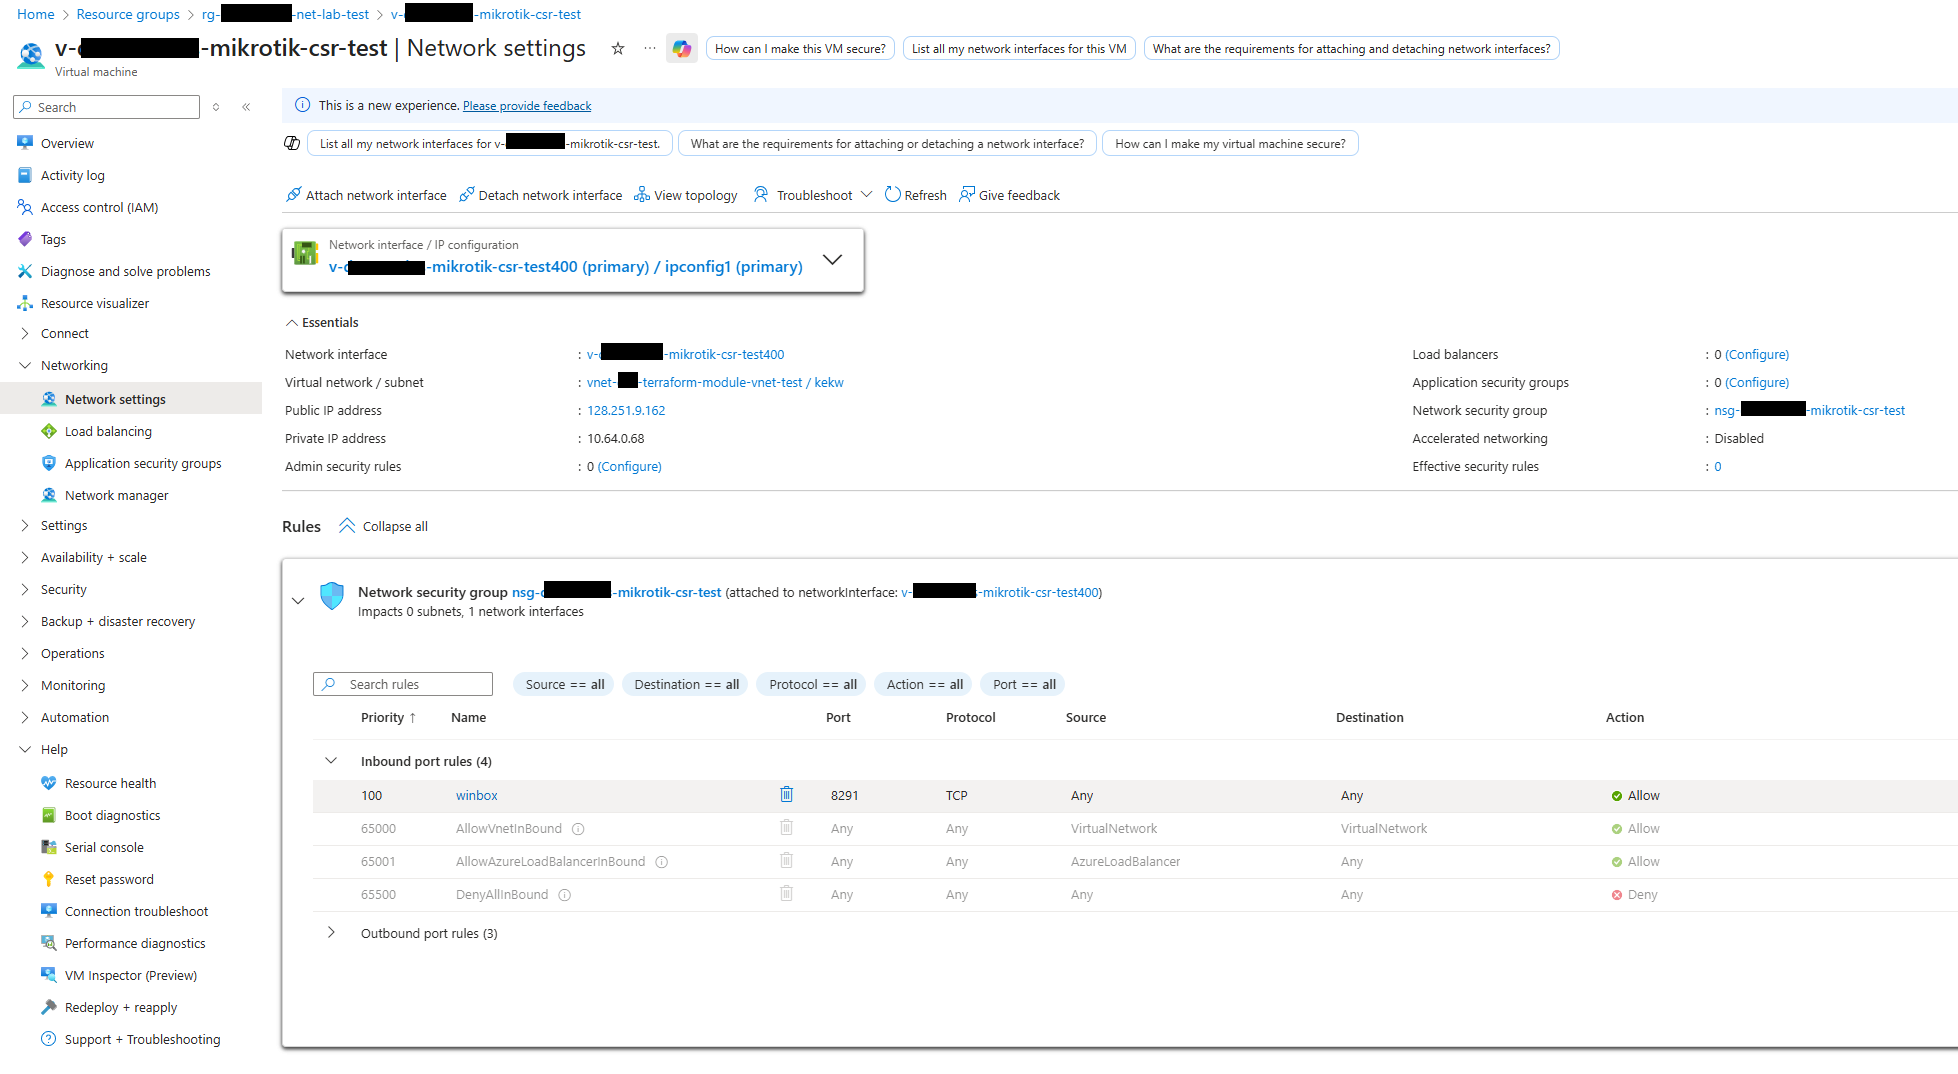
- You will need an NSG and a public IP assigned to the NIC to manage CHR remotely.
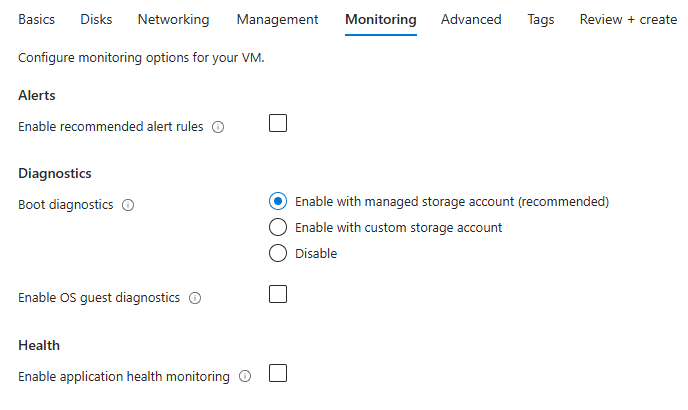
- [optional] On the Monitoring tab select the "Boot diagnostics" to "Enable with managed storage account" or "Enable with custom storage account". It will be needed in case you want to set it up locally from the CLI without an SSH or Winbox connection.
- For the Winbox connection, make sure you have port TCP/8291 allowed in the inbound section of the NSG
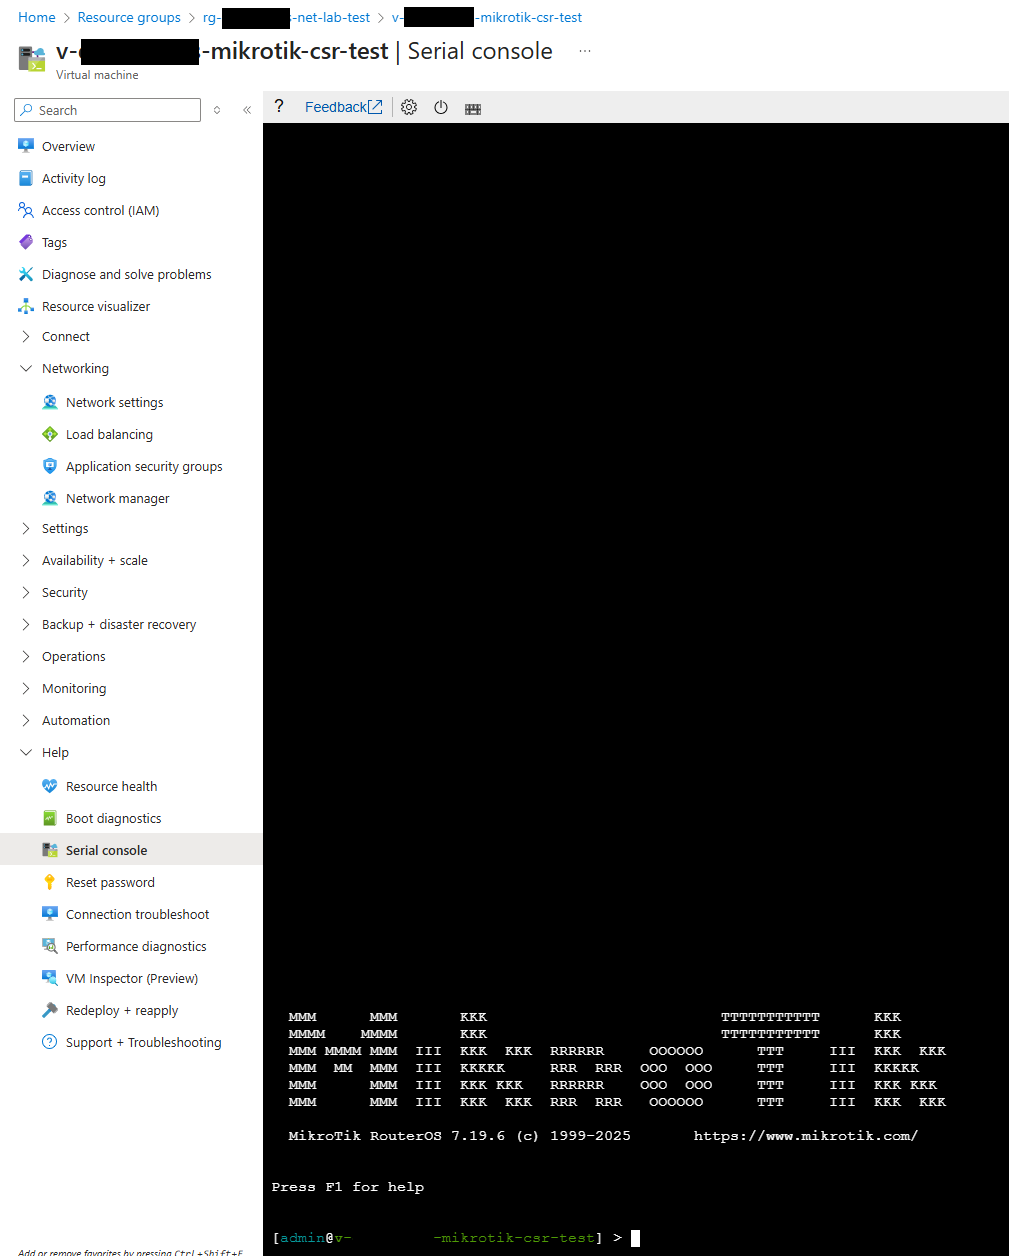
By default, the CHR has a shell user admin with a password admin. On first login, it will ask you to change the password.
Great success!
And now we have a working Mikrotik CHR VM in Azure!


Member discussion